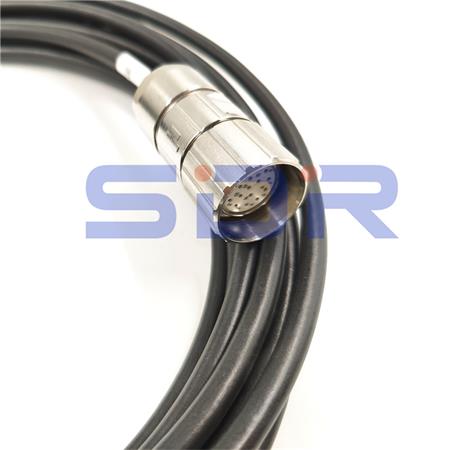
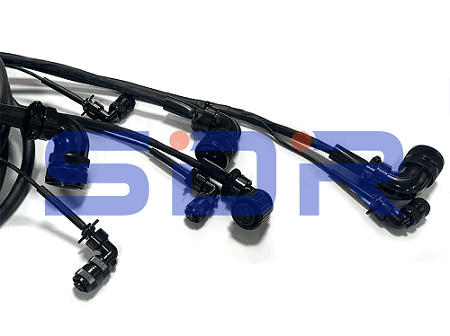
The Yaskawa Robot External Axis Cable is a vital component in the world of robotic automation. It allows for the seamless integration of external axis devices, such as rotary tables, linear slides, and tool changers, with Yaskawa robots. This guide has described the cable's components, connection methods, and step-by-step instructions on how to use it effectively. By following these instructions, users can ensure a seamless operation and reliable communication between the robot controller and external axis devices, enhancing the efficiency and productivity of robotic automation.

1. Understand the YASKAWA Robot external Axis Cable:
The Yaskawa Robot External Axis Cable is designed explicitly for Yaskawa robots to establish communication and signal transmission between the robot controller and external axis devices. It consists of high-quality cables and connectors that ensure reliable and accurate data transfer during operation.
2. Familiarize Yourself with the Cable Components:
The Yaskawa Robot External Axis Cable comprises several essential components that you should be aware of:
a. Connectors: The cable features connectors at both ends, typically male and female connectors, for linking the robot controller and external axis devices.
b. Cable Length: The cable comes in various lengths to suit different application requirements. Ensure that you choose an appropriate length based on your specific setup.
c. Wiring: Inside the cable, you will find multiple wires responsible for transmitting various signals, including power, ground, and data signals. Take note of these wires for proper connection.
3. Determine the Connection Method:
To utilize the Yaskawa Robot External Axis Cable, you need to establish a connection between the robot controller, external axis device, and power source. There are generally two connection methods:
a. Direct Connection: In this method, the cable connects the robot controller directly to the external axis device. This type of connection is commonly used for simpler setups or when the cable length is short.
b. Junction Box Connection: For more complex setups or when the cable length is long, a junction box is used. The cable connects the robot controller to the junction box, which then connects to the external axis device. The junction box acts as an intermediate connection point, ensuring efficient power and signal distribution.

4. Connect the Cable:
Follow these steps to connect the Yaskawa Robot External Axis Cable:
a. Power Off: Before making any connections, ensure that the robot controller and external axis device are powered off to prevent any electrical accidents.
b. Identify Connectors: Identify the male and female connectors on the cable. The male connector usually connects to the robot controller, while the female connector connects to the external axis device.
c. Make the Connections: Plug the male connector into the robot controller, ensuring a secure fit. Then, connect the female connector to the appropriate port on the external axis device. Verify that both connectors are properly seated.
d. Junction Box (if applicable): If using a junction box, connect the cable from the robot controller to the appropriate port on the junction box. Then, connect the cable from the junction box to the external axis device.
5. Power On and Test:
Once the cable connections are complete, power on the robot controller and external axis device. Test the system by moving the robot and verifying that the external axis device responds accordingly. Ensure that all movements and signals are functioning correctly.